Table of Contents
Pre-Flight Checklist
Prepare each site before you travel. A clear scope, working credentials and the right equipment make the installation easier to commission and support remotely afterwards.
Confirm the Scope
Agree what the customer needs at this site before choosing equipment or travelling:
- Which cameras, recorders, alarm panels, access-control systems and other devices are in scope.
- Which services the customer requires, such as cloud backup, notifications, health monitoring or control-room integration.
- Who will approve the installation, receive the handover and manage day-to-day notifications.
- Whether this is a new installation, an extension to an existing site or a replacement.
Use the Quote Tool to prepare the customer proposal and Supported Devices to check the equipment fit.
Prepare the TetherBox
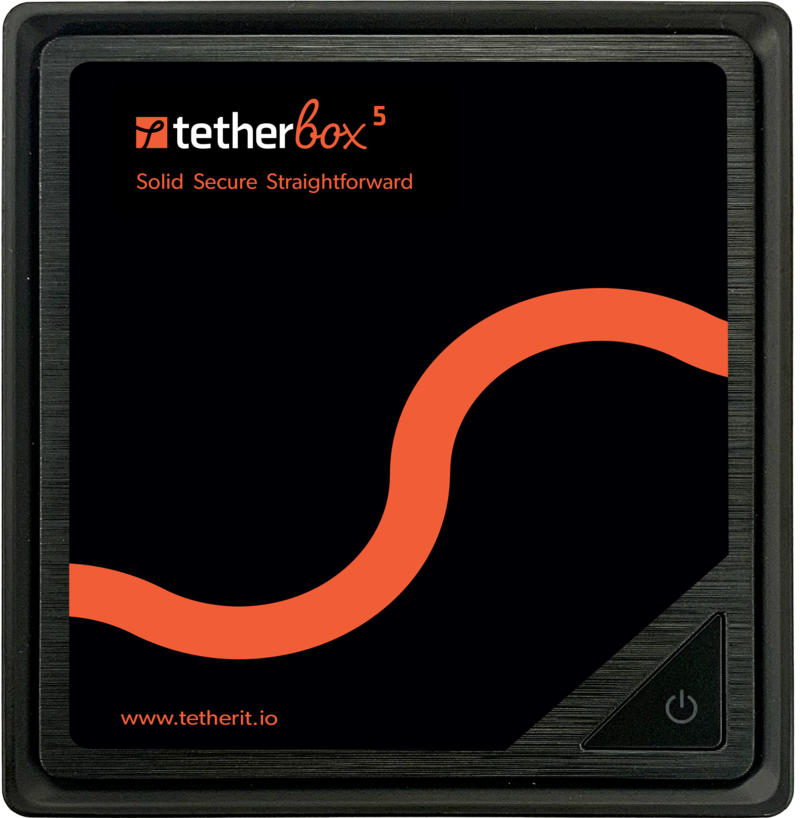
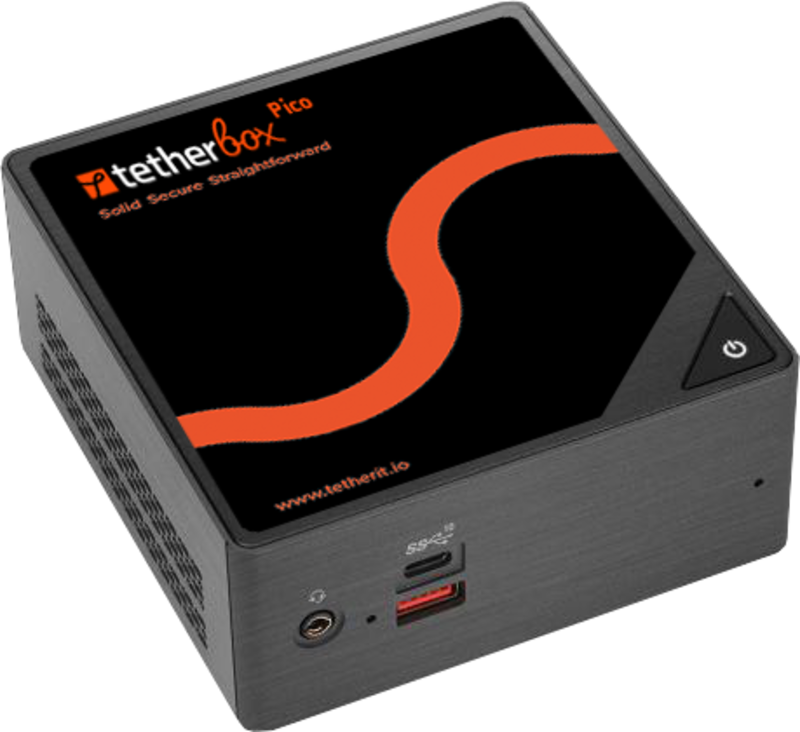
- Choose the right model and storage - use Hardware Specifications and Storage Hardware for the expected camera count, retention and site conditions.
- Activate it before the visit where possible - assign it to the right customer timeline and allow 5-30 minutes for its first software download. See activating a TetherBox.
- Bring the required connections - network patch leads, suitable power and any adapters or interface cables the site equipment requires.
Confirm Access Before You Travel
Do not assume someone on site will have the credentials. Confirm access with the customer, previous installer or facilities manager before you travel.
- Usernames and passwords for every camera and recorder.
- Router or switch administration access, where available, for network diagnostics.
- Alarm panel codes or communicator settings, where a panel is in scope.
- Contact details for the equipment supplier or previous installer, if specialist access may be needed.
Tip: Test one camera and recorder login from your own laptop before the visit. It is faster to resolve a credential issue before arriving on site.
Check the Network and Power
- Network path - confirm a spare Ethernet port and a route to the Internet. The TetherBox connects out to TetherX, so managed devices do not need inbound port forwarding. See Connecting your TetherBox to the Internet.
- Camera network - identify whether cameras and recorders share the customer LAN or sit on a separate network. Hardware Specifications explains the available network interfaces.
- Power - check the switch's PoE budget for all connected cameras and plan a UPS where recording must continue through a power interruption.
- Cabling - bring patch leads in suitable lengths, cable ties and any device-specific adaptors.
Warning: A TetherBox can continue recording during an Internet outage, but it needs an Internet connection for activation and initial setup.
Check Existing Equipment
- Cameras and recorders - check Camera Compatibility and note the manufacturer, model and firmware version.
- Alarm panels - decide whether the site needs Alarm Signal Receiving, Texecom Integration or another alarm panel integration.
- Access control and other devices - confirm the required connection method and any account or API access before the visit.
Plan the Handover
- Create or identify the customer accounts that need access.
- Agree who receives notifications and who can change site settings.
- Decide whether the customer needs a short walkthrough of the web platform, mobile apps or the operator workflow.
Commission and Hand Over
Before leaving, verify the outcome the customer is paying for:
| Check | What good looks like |
|---|---|
| Cameras | Every camera is online and recording |
| Remote access | A customer can view the agreed cameras away from the site network |
| Alerts | Required notifications or alarm reports have been tested |
| Cloud services | Cloud backup is uploading, where included in the scope |
| Customer access | The right users can sign in and have the agreed permissions |
| Handover | The customer knows who to contact and how to get support |
Related Articles
- Camera Compatibility - supported cameras and recorders
- Getting Started for Integrators - the wider installation and handover path
- Troubleshooting Kit - what to carry in the van
- Tunnelling to Network Devices - reaching a device on the customer's LAN afterwards
- Hardware Specifications - sizing the unit and its storage
Referenced in:

